


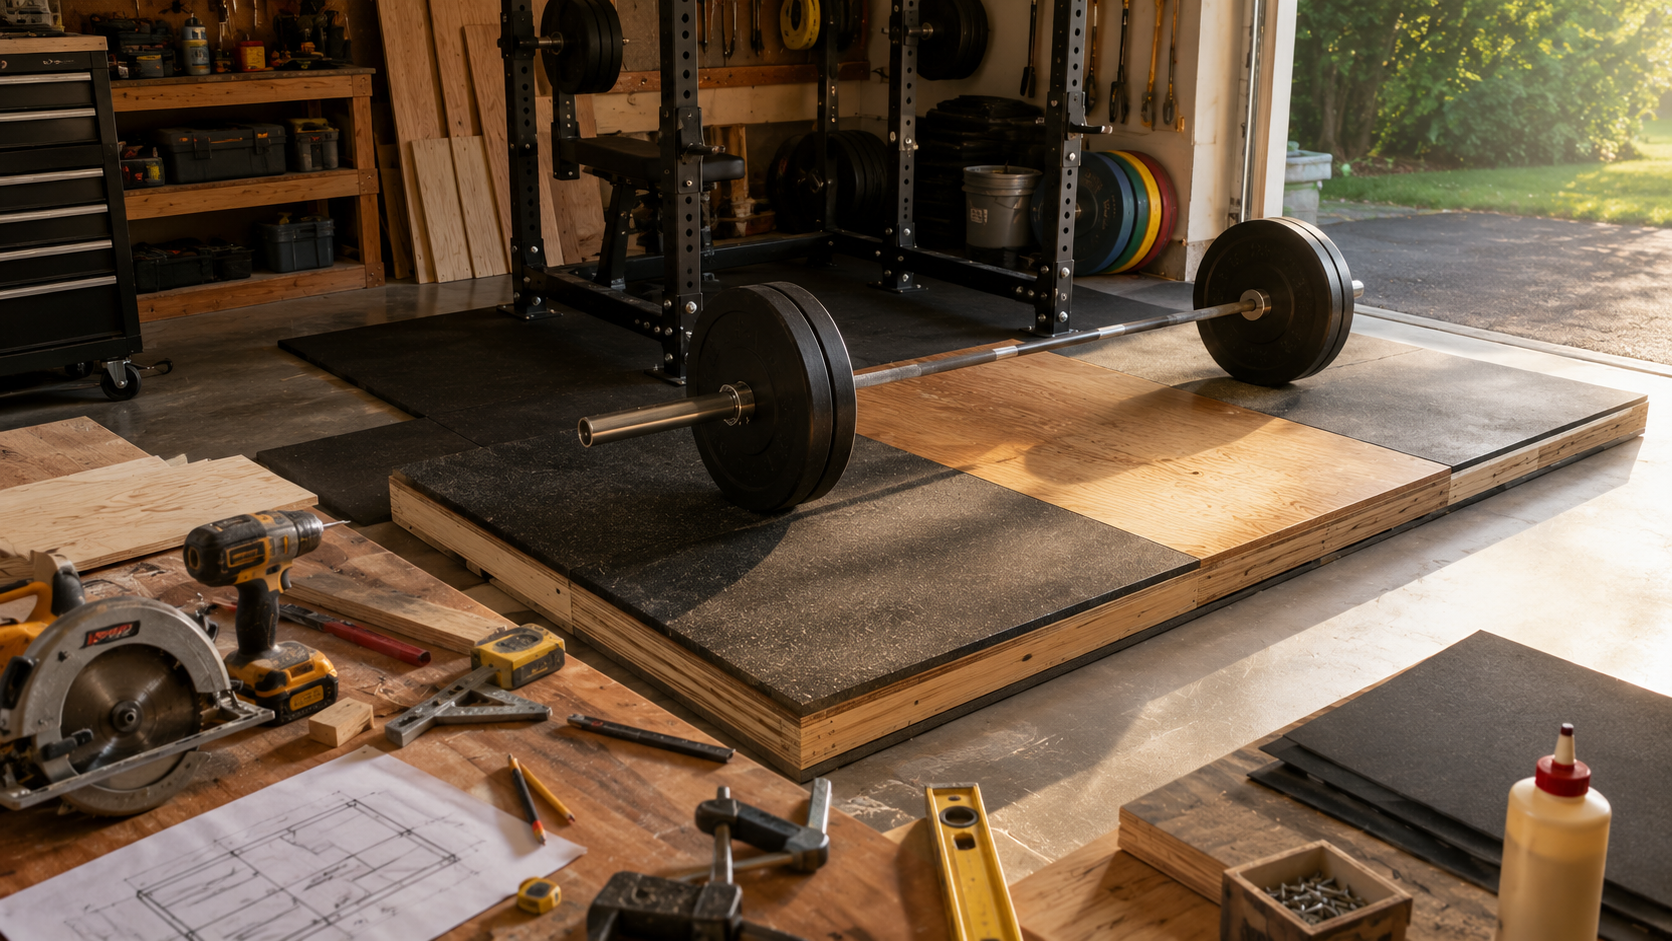
If you’re thinking about building a DIY Olympic Lifting Platform, you’ve probably reached the same conclusion I once did.
Gym memberships are expensive.
And dropping a loaded barbell directly onto a concrete garage floor is an excellent way to annoy both your neighbours and your future self.
After spending more than twenty years working as a tradie, I’ve learned that some projects are worth doing properly the first time. A lifting platform definitely falls into that category.
The good news is that a quality DIY Olympic Lifting Platform doesn’t require advanced carpentry skills or a workshop full of expensive tools. If you can measure reasonably accurately, drive a few screws and operate a drill without putting holes in your foot, you’re already halfway there.
For most dads, it’s an ideal weekend project.
Why Build a DIY Olympic Lifting Platform?
There are several good reasons.
The obvious one is protecting your floor.
Concrete might look indestructible until several hundred kilograms repeatedly crash onto exactly the same spot.
A lifting platform also provides:
- Better stability
- Improved grip
- Consistent lifting surface
- Reduced vibration
- Less noise
- A professional-looking home gym
Perhaps more importantly, it makes training feel more enjoyable.
It’s surprising how much difference it makes walking into a garage that actually feels like a proper training space rather than somewhere your lawn mower reluctantly shares with your squat rack.
What Does a DIY Olympic Lifting Platform Cost?
Compared with buying a commercial platform, building your own usually saves a significant amount of money.
| Option | Approximate Cost | Difficulty | Durability | Custom Size |
|---|---|---|---|---|
| DIY Platform | Low to Moderate | Easy | Excellent | Yes |
| Commercial Platform | High | None | Excellent | Usually No |
| Rubber Mats Only | Moderate | Very Easy | Good | Limited |
| Bare Concrete | Cheap | None | Poor | Mostly |
Building it myself made more sense than paying someone else.
As a tradie, we struggle paying people to build things we know we can make ourselves.
Materials You’ll Need
The exact dimensions can vary, but most platforms use:
- Three sheets of structural plywood
- Two heavy-duty rubber stall mats
- Timber screws
- Construction adhesive (optional)
- Polyurethane or timber finish (optional)
- Sandpaper
Horse stall mats are incredibly popular because they’re thick, durable and absorb impact exceptionally well.
They’re also remarkably heavy.
Don’t make the mistake of assuming you’ll casually throw one over your shoulder like an action movie hero.
You won’t.
Basic Tools
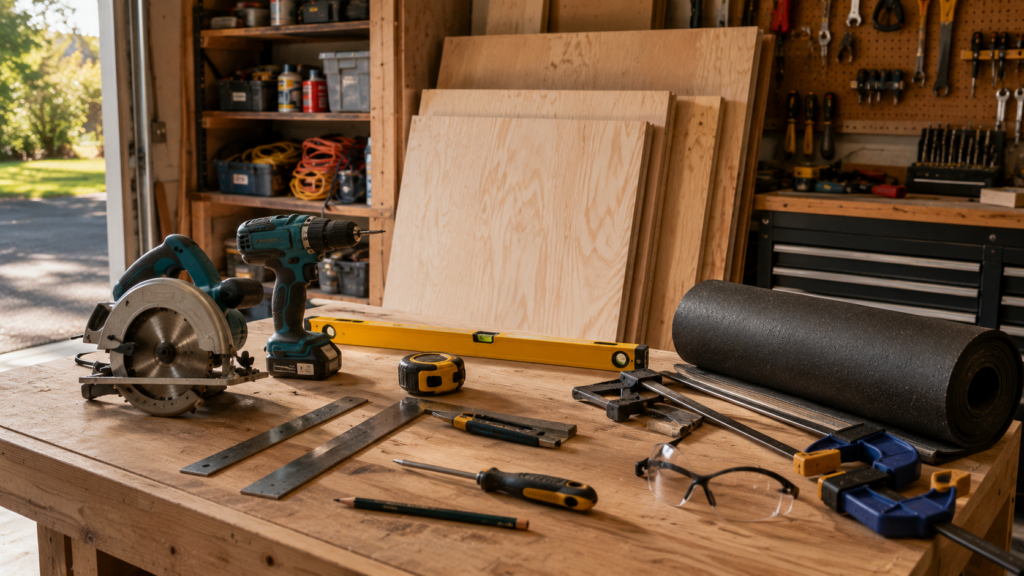
You don’t need a professional workshop.
The basics is usually enough.
- Tape measure
- Circular saw or table saw
- Drill
- Screwdriver
- Straight edge
- Utility knife
- Safety glasses
- Pencil
If you’ve completed a few DIY projects around the house, you probably already own everything required.
Standard Platform Size
The most common size is approximately:
8 ft × 8 ft (2440 × 2440 mm)
This provides plenty of room for:
- Olympic lifting
- Deadlifts
- Squats
- Power cleans
- Snatches
If your garage is smaller, you can scale the dimensions down while keeping the lifting area centered.
That’s one advantage of building your own.
You’re not locked into factory dimensions.
Step 1: Build the Base
Lay two sheets of plywood side by side.
Position the third sheet across them in the opposite direction.
This layered approach dramatically improves strength while reducing flex.
Take your time aligning everything properly.
As I’ve learned on countless construction sites, rushing measurements usually means doing the job twice.
Step 2: Secure Everything
Fasten the layers together using timber screws.
Space them evenly across the platform.
Some builders also use construction adhesive between layers for additional rigidity.
Either method works well.
Step 3: Install the Rubber Mats
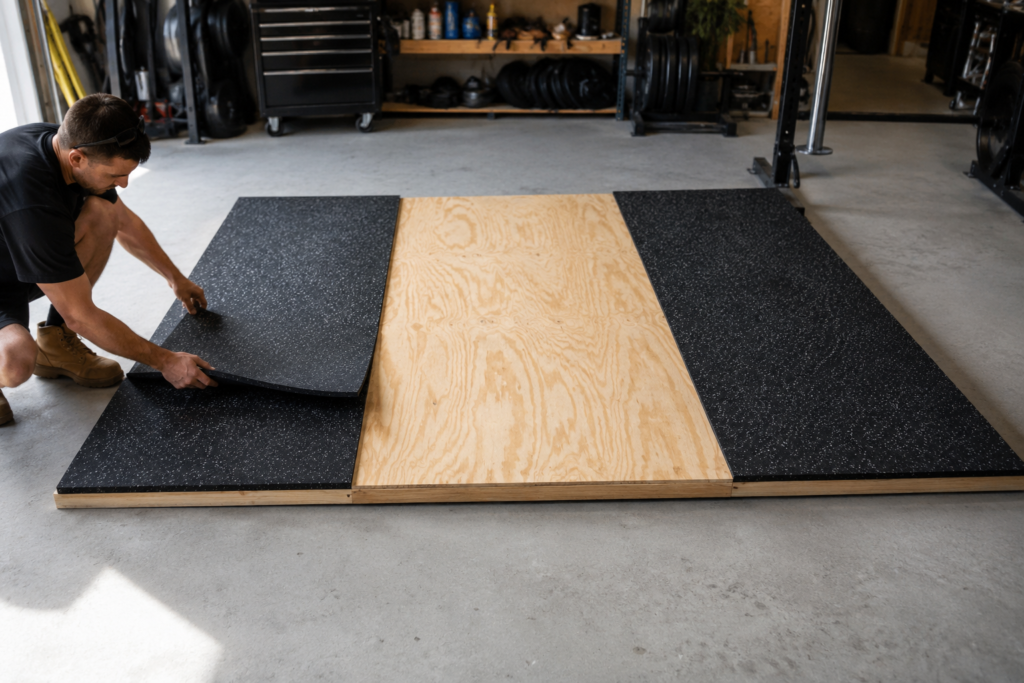
Cut two stall mats lengthwise.
Position them on each side of the timber centre section.
These absorb most of the impact from dropped weights while the timber centre provides a stable lifting surface.
The combination has become popular for good reason.
Step 4: Finish the Timber
Sand the centre section smooth.
Some people leave it unfinished.
Personally, I prefer sealing the timber with polyurethane.
It protects against moisture, chalk and the occasional protein shake explosion.
If you’ve trained long enough, you’ll eventually discover that protein shakes have an impressive ability to leak from containers that were definitely “tightened properly.”
Choosing the Right Timber
Not all plywood is equal.
Look for structural-grade plywood with minimal flex.
Cheap, thin sheets might save money initially but won’t tolerate years of heavy lifting.
Considering the platform will hopefully outlast several pairs of training shoes, buying quality timber is money well spent.
Why Stall Mats Work So Well
Heavy-duty rubber stall mats offer several advantages:
- Excellent shock absorption
- High durability
- Slip resistance
- Noise reduction
- Easy replacement if damaged
Many commercial gyms use very similar rubber flooring for exactly the same reasons.
Building a Home Gym Around Your Platform
One thing I appreciate about training at home is creating a space that actually suits the way I exercise.
You’re not waiting for equipment.
Nobody’s filming TikTok videos in the squat rack.
And you don’t have to listen to someone’s motivational grunting from three suburbs away.
If you’re working with limited space, my guide to Home Gym Equipment for Small Spaces can help you choose equipment that gives you the most versatility without filling your entire garage.
If you’re skipping a commercial bench for now, I’ve also put together some practical Home Alternatives for a Gym Bench that work surprisingly well.
Safety Matters
A platform won’t magically make unsafe lifting safe.
Always:
- Inspect your equipment
- Keep the platform level
- Tighten loose bolts
- Wear appropriate footwear
- Use collars
- Lift within your ability
Strong technique will always outperform impressive Instagram captions.
Can You Deadlift Without a Platform?
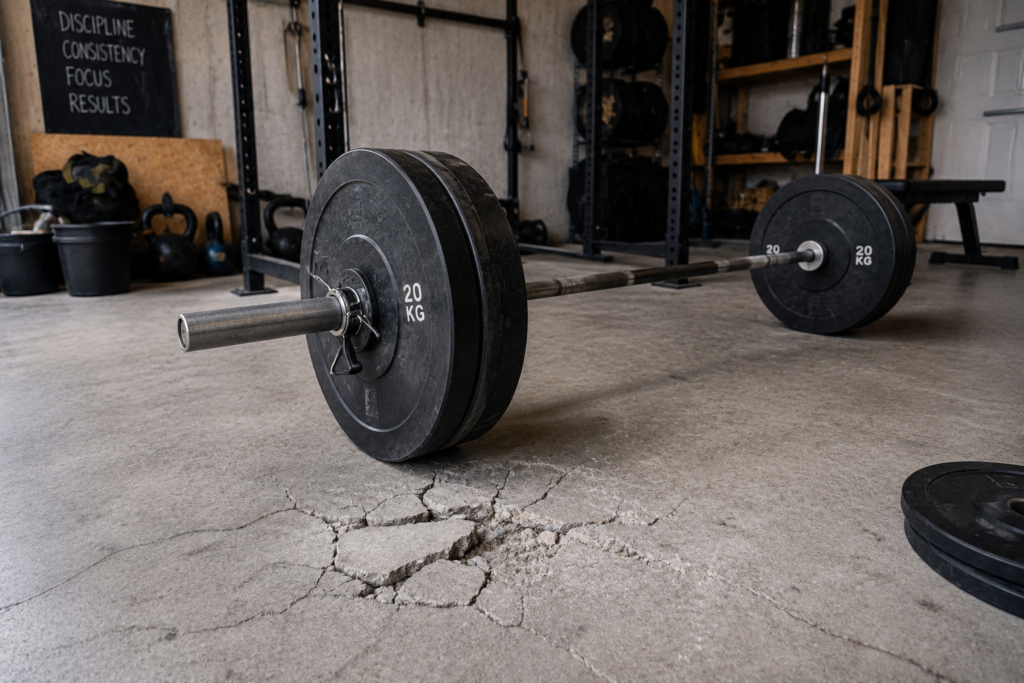
Technically, yes.
Should you?
Probably not if you’re training regularly.
Repeatedly dropping loaded barbells onto bare concrete eventually damages either the floor, the equipment or both.
Usually at the least convenient time possible.
My Experience
I’ve spent decades working with timber, concrete, steel and tools.
I’ve also spent plenty of years lifting weights before work, after work and sometimes wondering why I agreed to both on the same day.
One thing I’ve learned is that quality equipment makes consistency easier.
A lifting platform isn’t glamorous.
Nobody walks into your garage and says, “Mate, that’s the nicest plywood I’ve ever seen.”
But every workout becomes more enjoyable.
The bar feels more stable.
The room feels more organised.
And your garage floor quietly thanks you every time you deadlift.
Pros and Cons
Pros
- Protects concrete floors
- Reduces noise
- Improves lifting stability
- Relatively inexpensive
- Highly durable
- Customisable size
- Looks professional
- Ideal weekend project
Cons
- Stall mats are heavy
- Requires some basic tools
- Takes up floor space
- Quality plywood isn’t the cheapest material
Frequently Asked Questions
How thick should a DIY Olympic Lifting Platform be?
Most home platforms use two layers of plywood beneath the lifting surface, creating a strong, stable base capable of handling heavy training.
Can I build one in a garage?
Absolutely.
Garages are probably the most common location because they already have solid concrete floors and plenty of ventilation.
What’s the best rubber to use?
Horse stall mats remain one of the most popular choices because they’re durable, affordable and designed to withstand significant abuse.
Can beginners build a DIY Olympic Lifting Platform?
Definitely.
If you’re comfortable measuring, cutting timber and using basic power tools, it’s a very achievable project.
Do I need adhesive?
No.
Many builders rely entirely on screws, while others combine screws with construction adhesive for additional rigidity.
Both methods can produce excellent results.
Is it worth building instead of buying?
In my opinion, yes.
You’ll usually save money, customise the dimensions and end up with a platform that’s every bit as functional as many commercial alternatives.
Helpful Resources
If you’d like to learn more about safe strength training and equipment selection, these resources are worth reading:
- USA Weightlifting
- National Strength and Conditioning Association
- Rogue Fitness learning articles
- American Council on Exercise
They provide practical guidance on lifting technique, equipment and training principles without relying on marketing hype.
Why This Project Is Worth the Weekend
Building a DIY Olympic Lifting Platform isn’t just about protecting your garage floor.
It’s about creating a training space you’ll actually enjoy using.
I’ve found that when my equipment is organised, reliable and ready to go, I’m far less likely to skip a workout. There are enough excuses competing for our attention as dads already. We don’t need our home gym becoming another one of them.
Best of all, this project doesn’t require specialist skills or thousands of dollars’ worth of materials. Just a bit of planning, a free weekend and a willingness to do the job properly.
Once it’s finished, you’ll have a platform capable of handling years of squats, deadlifts, Olympic lifts and whatever new training obsession YouTube convinces you to try next.
Just don’t blame me if your next project somehow turns into buying more gym equipment. That’s a slippery slope I’ve been sliding down for years.
