


If you’ve been searching for Peanut Butter Patties that actually taste good without being loaded with refined sugar, you’ve come to the right place.
As dads, we’re often caught somewhere between wanting to eat healthier and wanting food that doesn’t taste like recycled cardboard. I’ve experimented with plenty of healthy desserts, and some of them were so dry I’m fairly sure the local wildlife would’ve turned them down.
After years of experimenting with different ingredients, diets and health protocols, I’ve found that Peanut Butter Patties are surprisingly easy to make healthier without sacrificing taste.
They’re fantastic for afternoon snacks, post-workout treats, quick desserts, and they’re also brilliant for kids’ lunch boxes. Thankfully, my kids are far more likely to grab one of these than some ultra-processed packaged snack filled with ingredients I can’t pronounce.
Let’s make something that satisfies your sweet tooth without sending your blood sugar into orbit.
Why Homemade Peanut Butter Patties Are a Better Choice
Traditional peanut butter patties often contain:
- Refined white sugar
- Corn syrup
- Hydrogenated oils
- Artificial flavours
- Preservatives
- Highly processed chocolate coatings
While it’s OK enjoying a treat occasionally, making your own allows you to control exactly what goes into them.
Personally, I like knowing every ingredient.
After working on construction sites for over 20 years, I’ve become pretty conscious about what fuels my body. Spending ten hours lifting, climbing ladders and carrying materials quickly teaches you that nutrition matters.
That doesn’t mean life has to become one giant salad.
It just means choosing better ingredients where possible.
What Makes These Peanut Butter Patties Healthier?
Instead of relying on processed sugars, these recipes focus on:
- Natural peanut butter
- Almond flour or oat flour
- Dark chocolate
- Honey or maple syrup in moderation
- High-protein ingredients
- Healthy fats
- Fibre-rich additions
The result is a snack that’s far more satisfying and keeps you fuller for longer.
Unlike supermarket snacks that somehow manage to contain seventeen different sweeteners and still taste like dog turd.
It’s almost impressive.
Healthy Peanut Butter Patties Comparison
| Recipe | Protein | Sugar | Kid Friendly | No Bake | Best For |
|---|---|---|---|---|---|
| Classic Healthy | ★★★★☆ | Low | ✅ | ✅ | Everyday snacks |
| Protein Patties | ★★★★★ | Low | ✅ | ✅ | Post-workout |
| Oat & Chia Patties | ★★★★☆ | Low | ✅ | ✅ | Lunch boxes |
| Dark Chocolate Patties | ★★★☆☆ | Moderate | ✅ | ✅ | Healthy desserts |
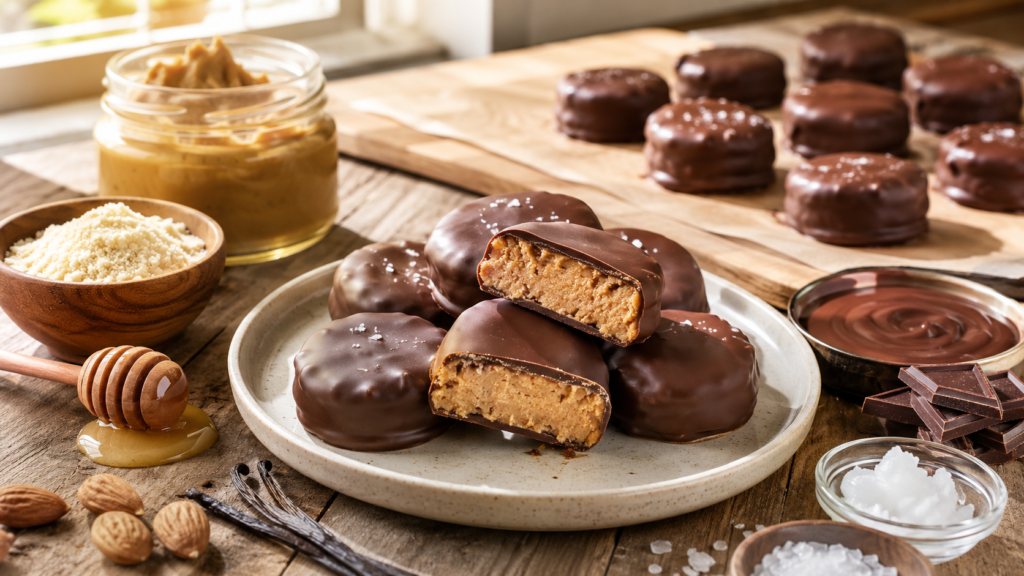
Recipe 1: Classic Healthy Peanut Butter Patties
Ingredients
(Organic where possible)
- 1 cup natural peanut butter
- ½ cup almond flour
- 2 tablespoons honey
- 1 teaspoon vanilla
- Pinch of sea salt
- 150g 85% dark chocolate
- 1 teaspoon coconut oil
Instructions
Mix the peanut butter, almond flour, honey, vanilla and sea salt until smooth.
Roll into small balls before gently flattening into patties.
Freeze for around 20 minutes.
Melt the dark chocolate together with the coconut oil.
Coat each patty completely before placing onto baking paper.
Refrigerate until the chocolate hardens.
That’s it.
Simple.
Recipe 2: High Protein Peanut Butter Patties
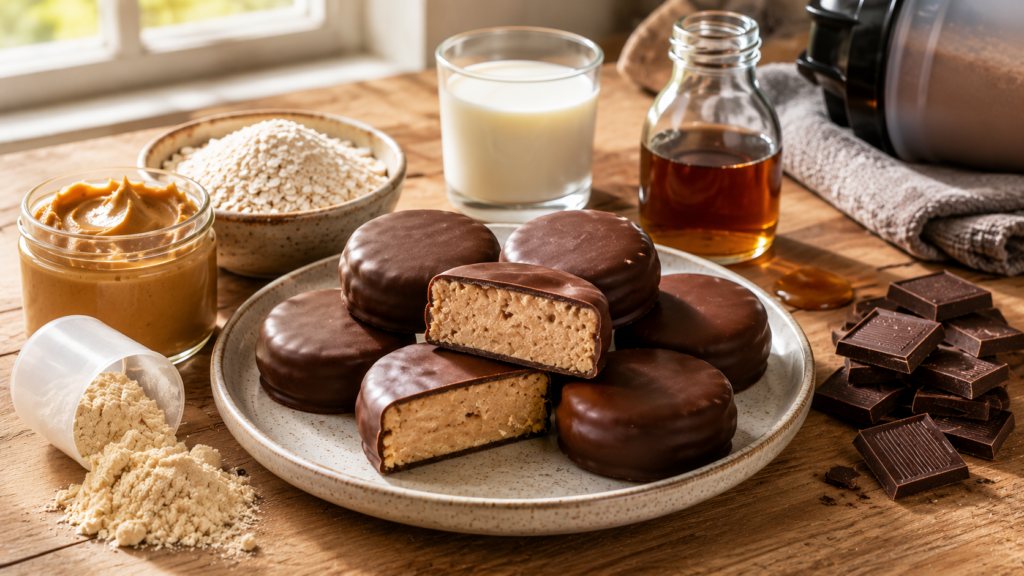
This one’s become one of my favourites after training.
Ingredients
(Organic where possible)
- 1 cup natural peanut butter
- 2 scoops vanilla or chocolate protein powder
- ¼ cup oat flour
- 2 tablespoons almond milk
- 1 tablespoon maple syrup
- Dark chocolate coating
The added protein makes these incredibly filling.
If you’re unsure which protein powder works best, I’ve written a detailed comparison on Whey Protein vs Isolate Protein.
It explains everything in plain English without requiring a science degree to understand it.
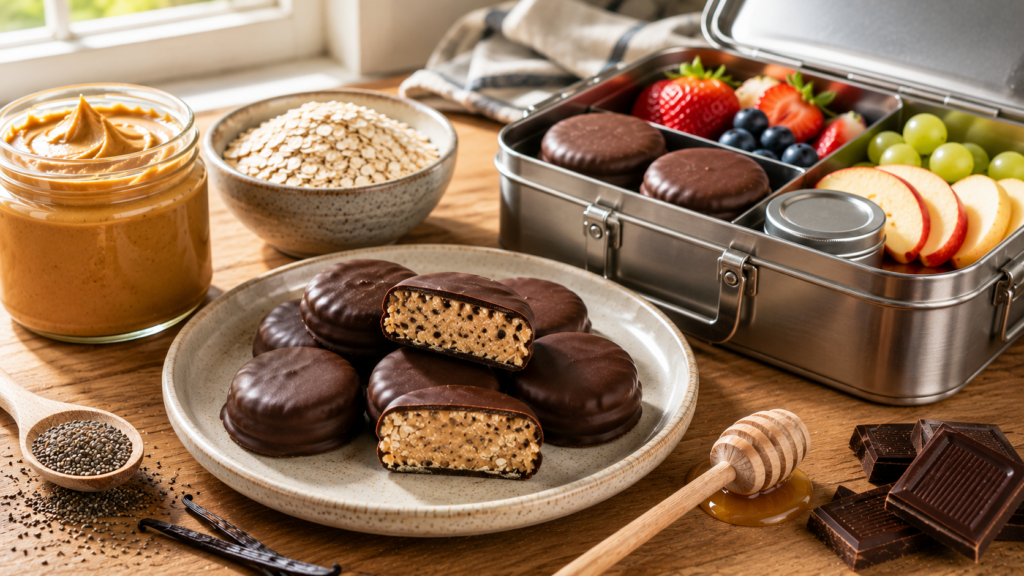
Recipe 3: Peanut Butter Patties for Kids Lunch Boxes
Kids love sweet snacks.
Parents generally don’t love the sugar crash that follows.
These are a nice middle ground.
Ingredients
(Organic where possible)
- Natural peanut butter
- Fine rolled oats
- Chia seeds
- Vanilla
- Small amount of honey
- Dark chocolate
The oats and chia seeds add fibre while keeping everything soft enough for younger kids.
They’re easy to freeze individually and pop straight into lunch boxes.
By lunchtime they’ve thawed perfectly.
Recipe 4: Low Sugar Peanut Butter Patties
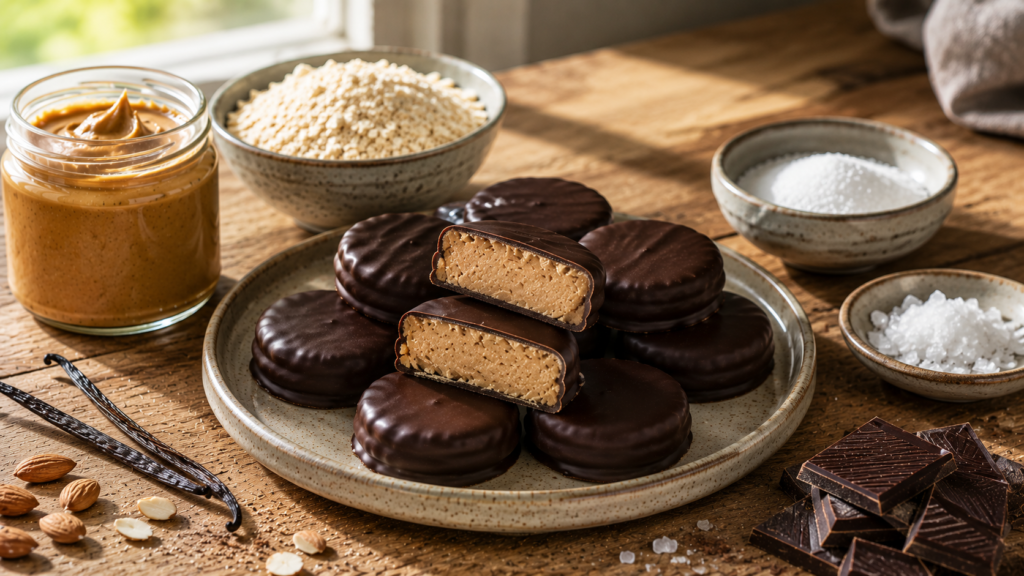
If you’re trying to reduce sugar intake even further, this version works surprisingly well.
Ingredients
(Organic where possible)
- Natural peanut butter
- Almond flour
- Stevia or monk fruit sweetener
- Vanilla
- Sea salt
- 90% dark chocolate
These aren’t overly sweet.
Personally, I prefer that.
After reducing processed sugar over the years, I’ve found my taste buds changed dramatically.
Foods that once tasted normal now seem ridiculously sweet.
Why Peanut Butter Is Surprisingly Nutritious
Good quality peanut butter provides:
- Healthy monounsaturated fats
- Plant protein
- Magnesium
- Vitamin E
- Niacin
- Potassium
The important part is reading the label.
Ideally the ingredients should simply read:
Peanuts.
Maybe a little salt.
If the ingredient list starts resembling a chemistry assignment, keep looking.
The American Heart Association notes that replacing saturated fats with unsaturated fats can support heart health as part of an overall balanced diet.
Dark Chocolate Makes a Difference
Choosing quality dark chocolate instead of milk chocolate reduces sugar considerably.
Chocolate containing 70–90% cocoa generally provides:
- More cocoa
- Less sugar
- More antioxidants (flavanols)
- Richer flavour
Which conveniently means you usually eat less because it’s more satisfying.
Add More Fibre
One thing I’ve gradually increased over the years is fibre.
It keeps me feeling full for longer and supports digestion.
Some easy additions include:
- Chia seeds
- Ground flaxseed
- Oat flour
- Psyllium husk (small amounts)
If you’re trying to increase your daily fibre intake, you might also like my guide to High Fiber Drinks.
Storage Tips
These keep surprisingly well.
- Refrigerator: up to one week
- Freezer: around three months
- Lunch boxes: thaw naturally during the morning
I often make double batches because they disappear remarkably fast.
Usually because someone discovers where I’ve hidden them.
Can You Make Them Vegan?
Absolutely.
Simply replace the honey with:
- Pure maple syrup
- Date syrup
- Agave syrup
Choose dairy-free dark chocolate and you’re done.
Since I eat predominantly plant-based myself, I often make them this way.
Can You Add Protein Powder?
Definitely.
Protein powder mixes well with peanut butter.
Just remember it absorbs moisture.
If the mixture becomes dry, simply add a splash of almond milk.
My Experience
Over the years I’ve experimented with countless healthy desserts.
Some were excellent.
Some were…memorable.
Not in a good way.
One recipe was apparently trying to recreate brownies using black beans.
I’ll just say there’s a reason nobody has ever requested them twice.
These Peanut Butter Patties, however, have become one of those recipes I keep coming back to.
They’re easy.
They taste great.
They’re filling.
And they don’t leave me feeling like I need another dessert five minutes later.
As someone who’s worked physically demanding jobs for most of my adult life, I appreciate snacks that actually provide sustained energy instead of a sugar spike followed by the nutritional equivalent of falling asleep at a traffic light.
Pros and Cons
Pros
- Easy to make
- Naturally high in protein
- Low sugar
- Great for meal prep
- Excellent for kids lunch boxes
- Freezer friendly
- Easily made vegan
- Highly customisable
- Far healthier than most packaged snacks
Cons
- Easy to eat more than planned. Go easy – one or two. They are still calorie dense.
- Dark chocolate can be expensive
- Natural peanut butter separates and requires stirring
- Homemade versions don’t last as long as commercially preserved products
Frequently Asked Questions
Are Peanut Butter Patties healthy?
Homemade Peanut Butter Patties can be much healthier than store-bought versions because you control the ingredients. Using natural peanut butter, dark chocolate and minimal sweetener creates a snack that’s higher in protein and healthy fats while keeping added sugar low.
Are they suitable for kids?
Yes. They’re excellent for kids’ lunch boxes, after-school snacks and family desserts. Just make sure your child doesn’t have a peanut allergy.
Can I freeze Peanut Butter Patties?
Absolutely. Freeze them individually on a tray before transferring them to an airtight container. They’ll keep for around three months.
Which peanut butter is best?
Look for natural peanut butter containing only peanuts, or peanuts with a small amount of salt. The National Peanut Board also highlights that peanuts naturally provide protein, healthy fats, vitamins, and minerals as part of a balanced diet.
Can I make them without chocolate?
You can.
Although I’ll admit that’s testing the limits of my self-control.
The chocolate coating really completes them.
Are they good after exercise?
Definitely.
The combination of protein, healthy fats and moderate carbohydrates makes them a satisfying post-workout snack.
Healthy Doesn’t Have to Taste Boring
Healthy eating doesn’t have to mean giving up the foods you enjoy.
These Peanut Butter Patties prove you can make a delicious treat using simple, wholesome ingredients without drowning everything in refined sugar.
I like recipes like this because they’re practical. They don’t require expensive equipment, complicated techniques or ingredients that can only be found on the top shelf of a boutique health food shop.
They’re quick to make, they’re filling, they’re perfect for kids’ lunch boxes, and they satisfy those moments when you’re craving something sweet without reaching for a packet of ultra-processed snacks.
At the end of the day, being healthier isn’t usually about one magical food. It’s about consistently making better choices. If swapping a heavily processed dessert for homemade Peanut Butter Patties becomes one of those choices, I’d call that a pretty solid win.